Times are changing in HMO land. The marketplace is highly saturated and tenants have a plethora of choice from sharing in a Luxury Mini-Mo (as small as a two bedroom flat with concierge and gym), to a Mega-Mo (complete with cinema room, pizzeria, even a yoga studio).
So, to attract the best professional tenants and reduce voids, you need to stand out from the rest.
In this two-part series, we’ll show you some cheap and simple tips on how to up your game:
1. A fresh lick of paint throughout.
This is by far the simplest, cheapest and most effective way of improving the room rates. Be sure to use a durable paint (like Dulux Trade Diamond) in hallways and stairwells – the upfront costs are higher, but you will save on the labour of having to regularly repaint these high traffic areas, and be able to just give the walls a wipe down whenever there is a little scuff.
Pure Brilliant White is our colour of choice as it doesn’t dull or fade like pigmented paints, meaning you can do quick touch ups each year without having to paint an entire wall. It also helps to bounce light around the space.
If you prefer colour, stay well clear of magnolia. The current trend is to use a neutral-toned light grey, greige or wet-sand type colour.
Painting a feature wall in the lounge or bedrooms adds maximum impact, and is cheaper and easier to change with the fashions than using wallpaper.
2. De-Clutter the shared areas
If your HMO has been around for a while, it will have accumulated all sorts of junk over the years. Get together with the tenants, be ruthless and get rid of the clutter. The place will feel lighter, brighter, bigger and more attractive to potential new tenants.
3. Professional photography
We all have camera phones these days so there’s no excuse for not having photos of your rooms, but if your photography skills are somewhat lacking, why not just hire a photographer to do a shoot for you. You can find reasonably priced photographers offering services by the hour on peopleperhour.com, or pop a post on Facebook to see if any of your contacts has a friend of a friend that could do the job.
Obviously, it’s easiest to do a photoshoot when the house is new and unoccupied, but it’s also important to update your photos as time passes and new elements are introduced (e.g., new carpets, a new piece of furniture etc). One comment I regularly receive from viewers is that my rooms look exactly like the photos, which apparently is uncommon. Seeing a room that is exactly as it has been advertised instills trust.
4. Pay for a professional weekly cleaner
This serves three purposes. It keeps the place clean for the tenants, it helps to keep the house and equipment maintained, and it provides another regular set of eyes looking out for your property. Our cleaners carry out a monthly service on the washing machines and dishwashers too, keeping the machines in good condition.
No scrimping though – the cleaners need to come weekly, not every ten days or fortnightly.
5. Plan / add in well-considered design elements
Design should be both practical and beautiful – if it is just beautiful, then it is merely art.
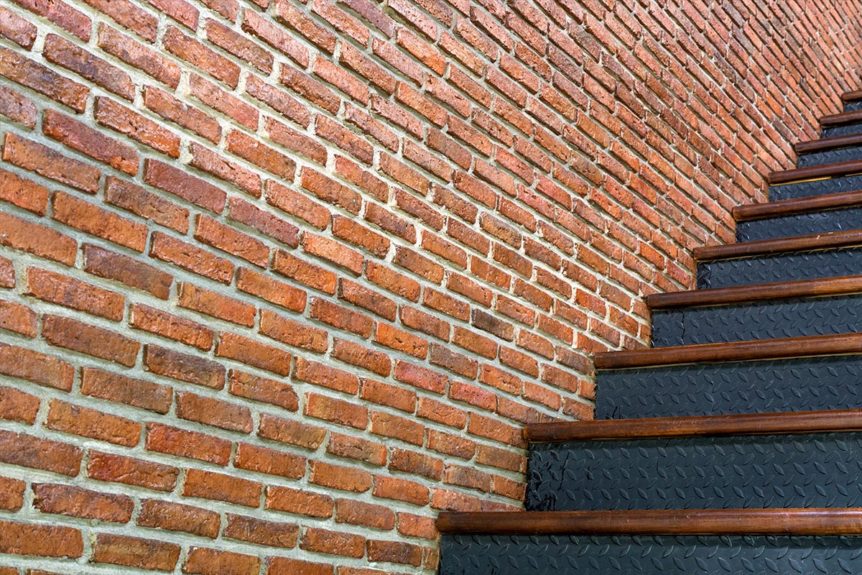
My favourite design concept for a high-traffic area is an exposed brick wall. Exposed brick has been a fashionable interior design element for the past twenty years when people started transforming warehouse buildings into chic homes, and looks set to stay in fashion for many years to come. It suits both industrial and Victorian buildings, and is the perfect material to use along the highest traffic area of a HMO – the stairwell. Not only does it look cool, but it will keep the area looking blemish-free and well-kept without having to pay for any regular touch ups.
Another great design tip is to create built-in wardrobes with space-saving, sliding doors. Using mirrored doors on the wardrobes will enhance the sense of space and luxury, and will bounce light around the room too.
These design features are great if you are converting or renovating a new HMO, but if your HMO is already established and you are looking for ways to improve your existing space without doing invasive refurbishment works, I have a different suggestion for you…
Work with what you’ve got. Draw up floor-plans of each room including the room measurements. Add in the position and dimensions of windows, doors and electric sockets. Then measure the furniture you have and rearrange it to get the best use out of the space. Ideally, you want an electric socket at the bedside table position (on at least one side of the bed), one behind or beside the desk, and one behind/beside the chest of drawers, so position the furniture accordingly. If your budget allows, use the opportunity to update some of the furniture. Choose items that measure up perfectly (or even custom fit/build items into the space), and incorporate space saving elements like under bed storage, or sliding doors on the wardrobes
Ah, I should mention, I have a bug-bear for those skinny double-door wardrobes! Perhaps because I’m a woman so I tend to consider where a girl is going put all of her shoes, but wherever possible, install a larger, three-door or bigger wardrobe.
The more practical the layout and the more floorspace you can create, the better.[/cs_text][/cs_column][/cs_row][/cs_section][/cs_content]

